How to Take Photos
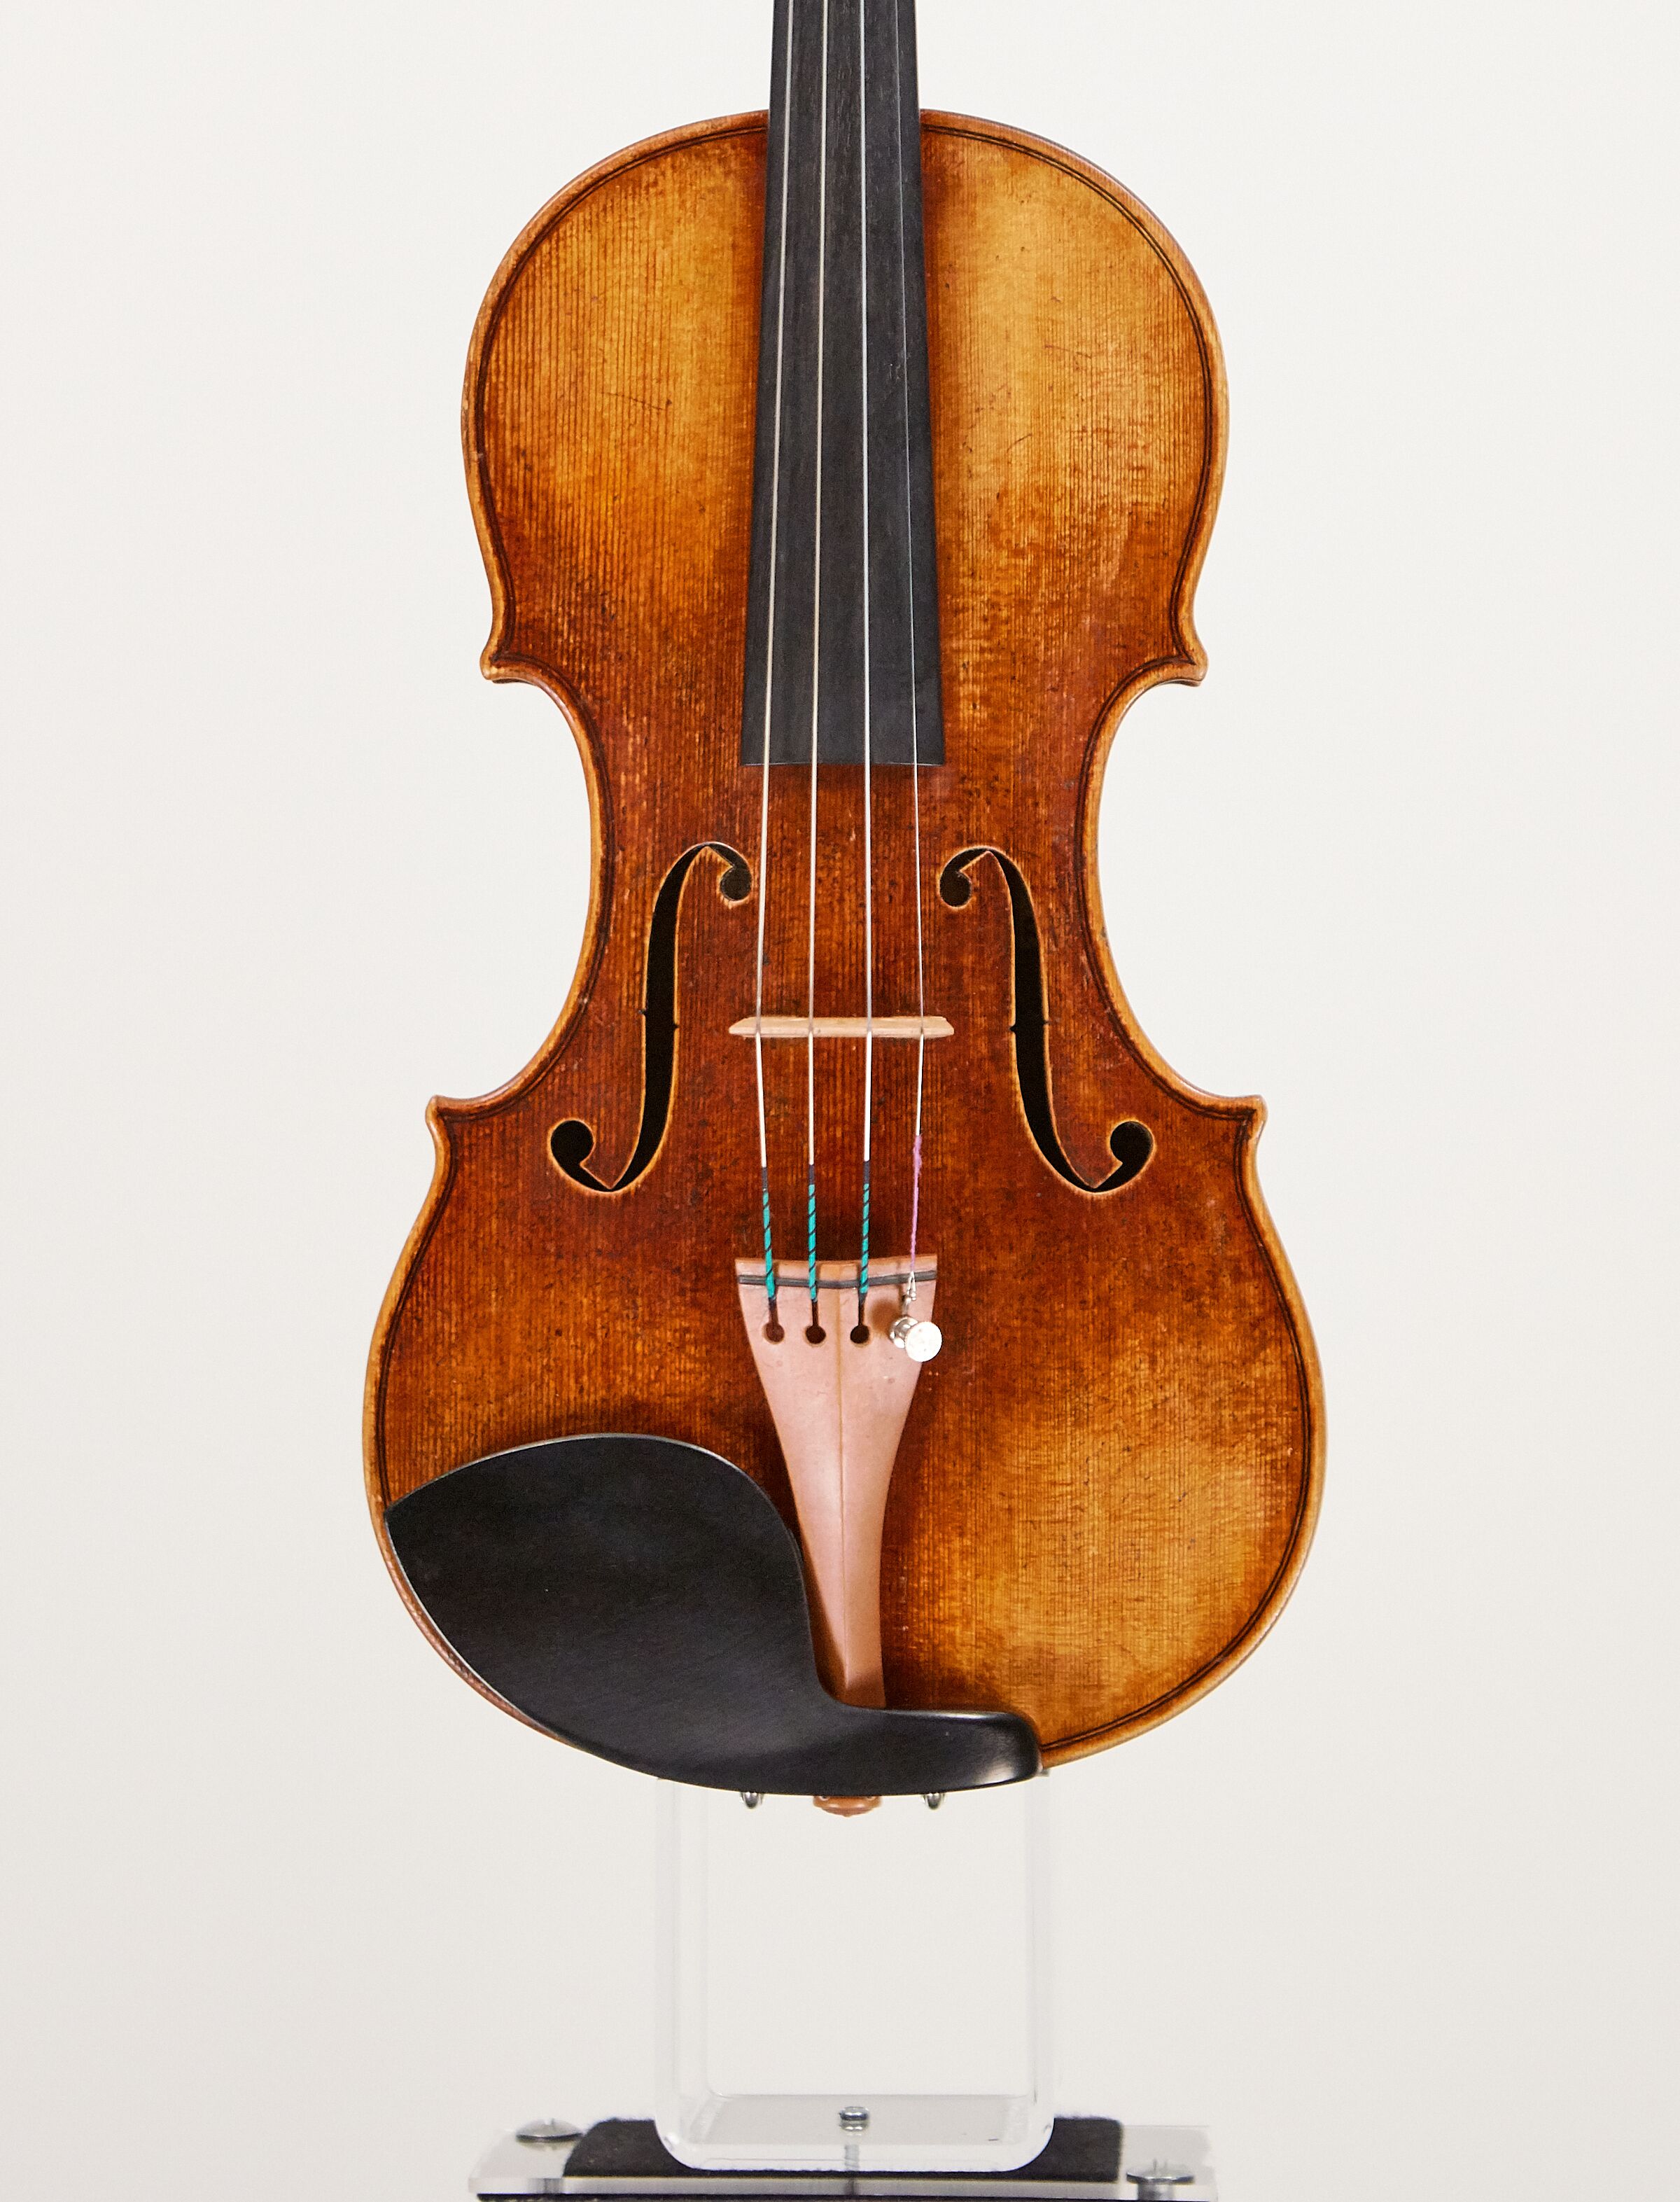
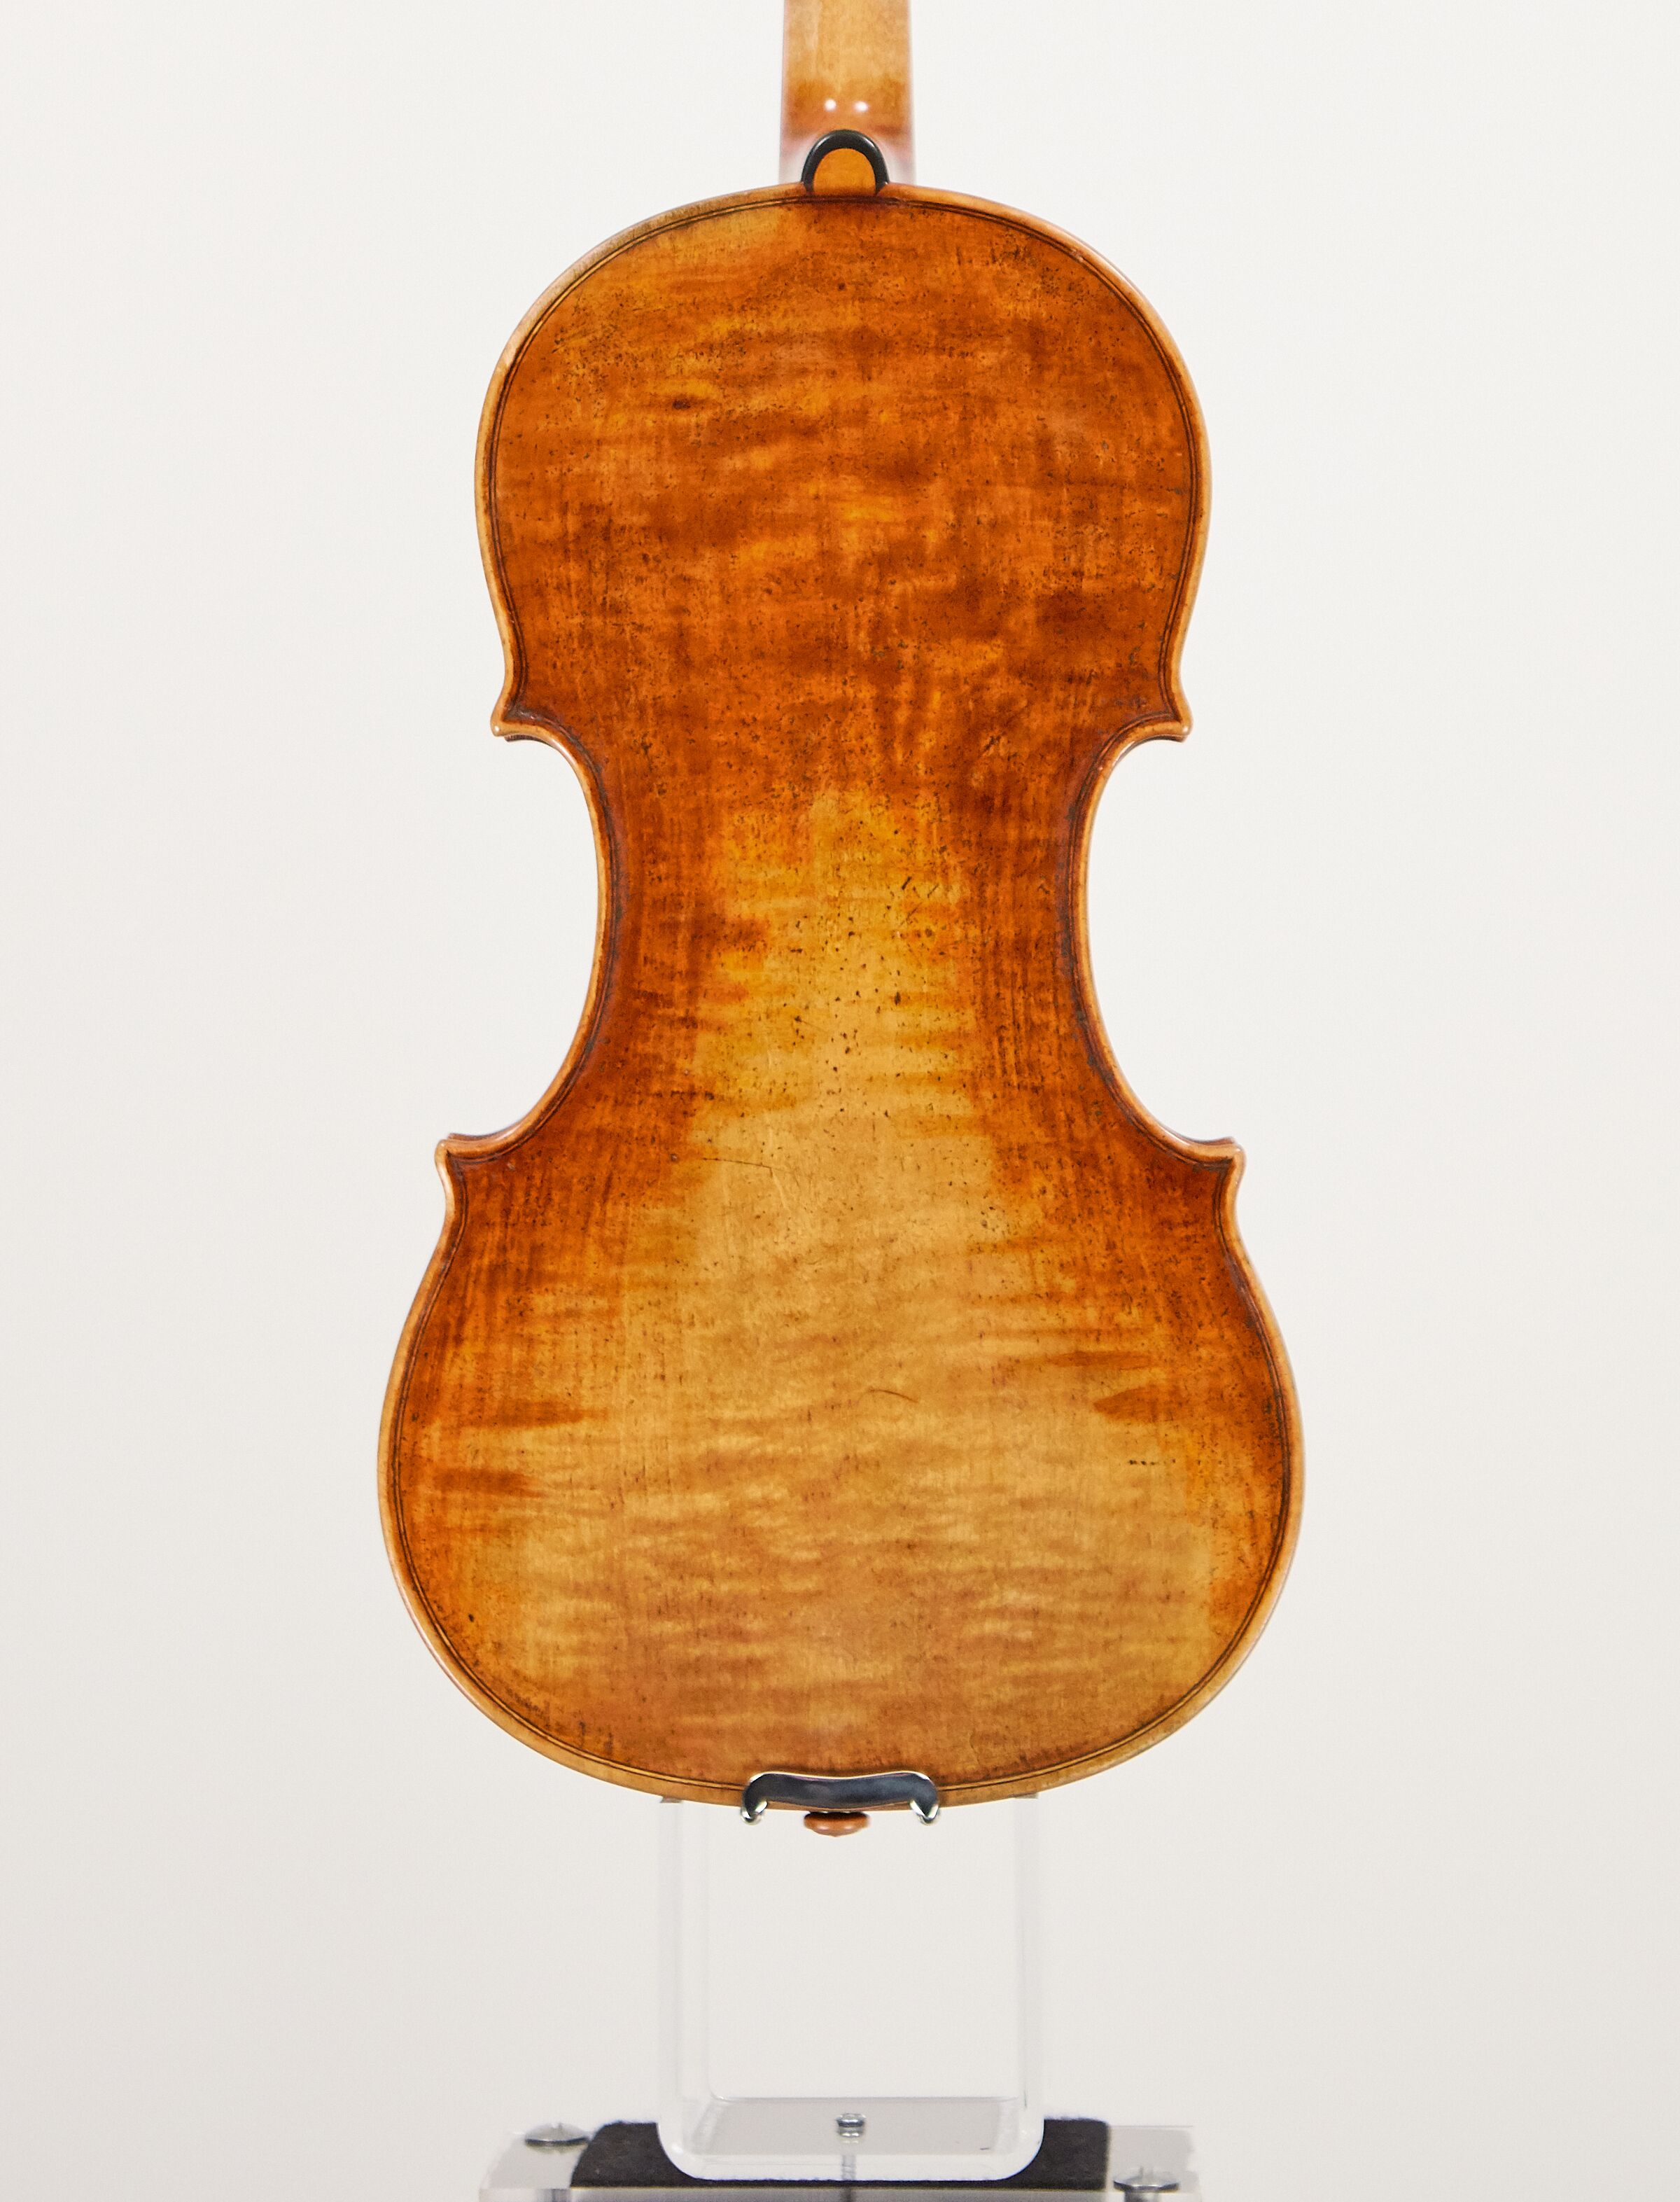
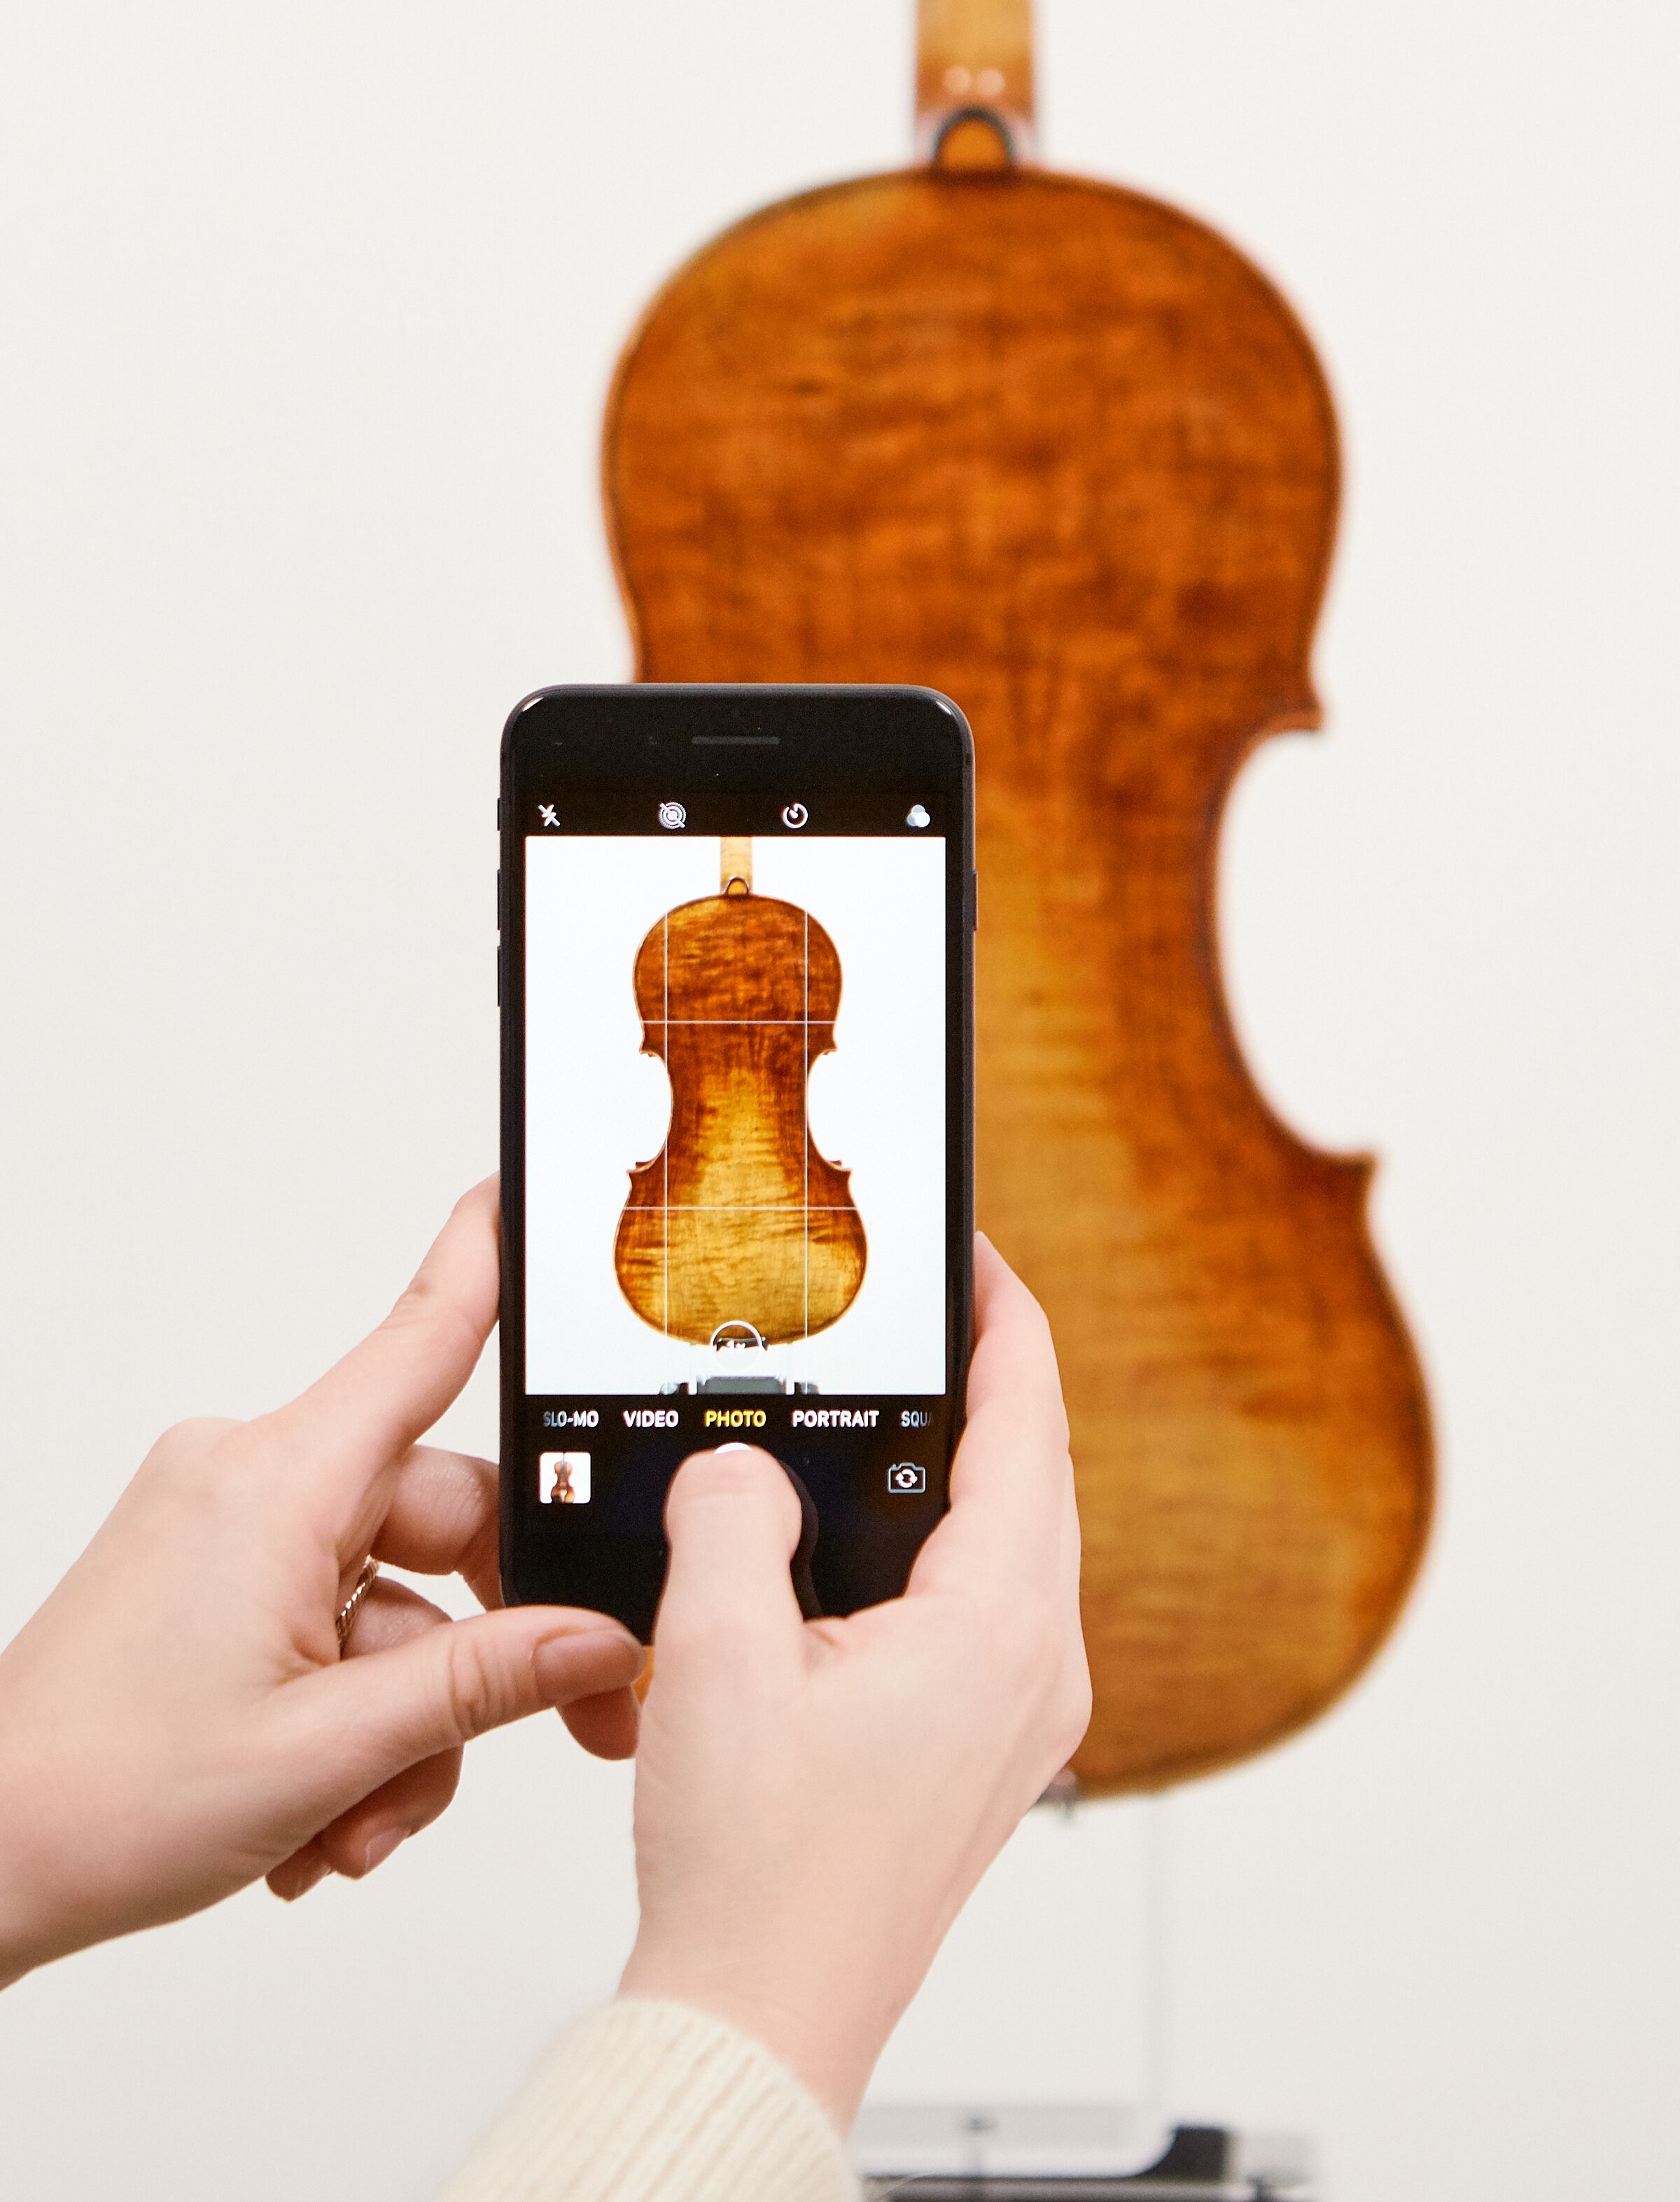
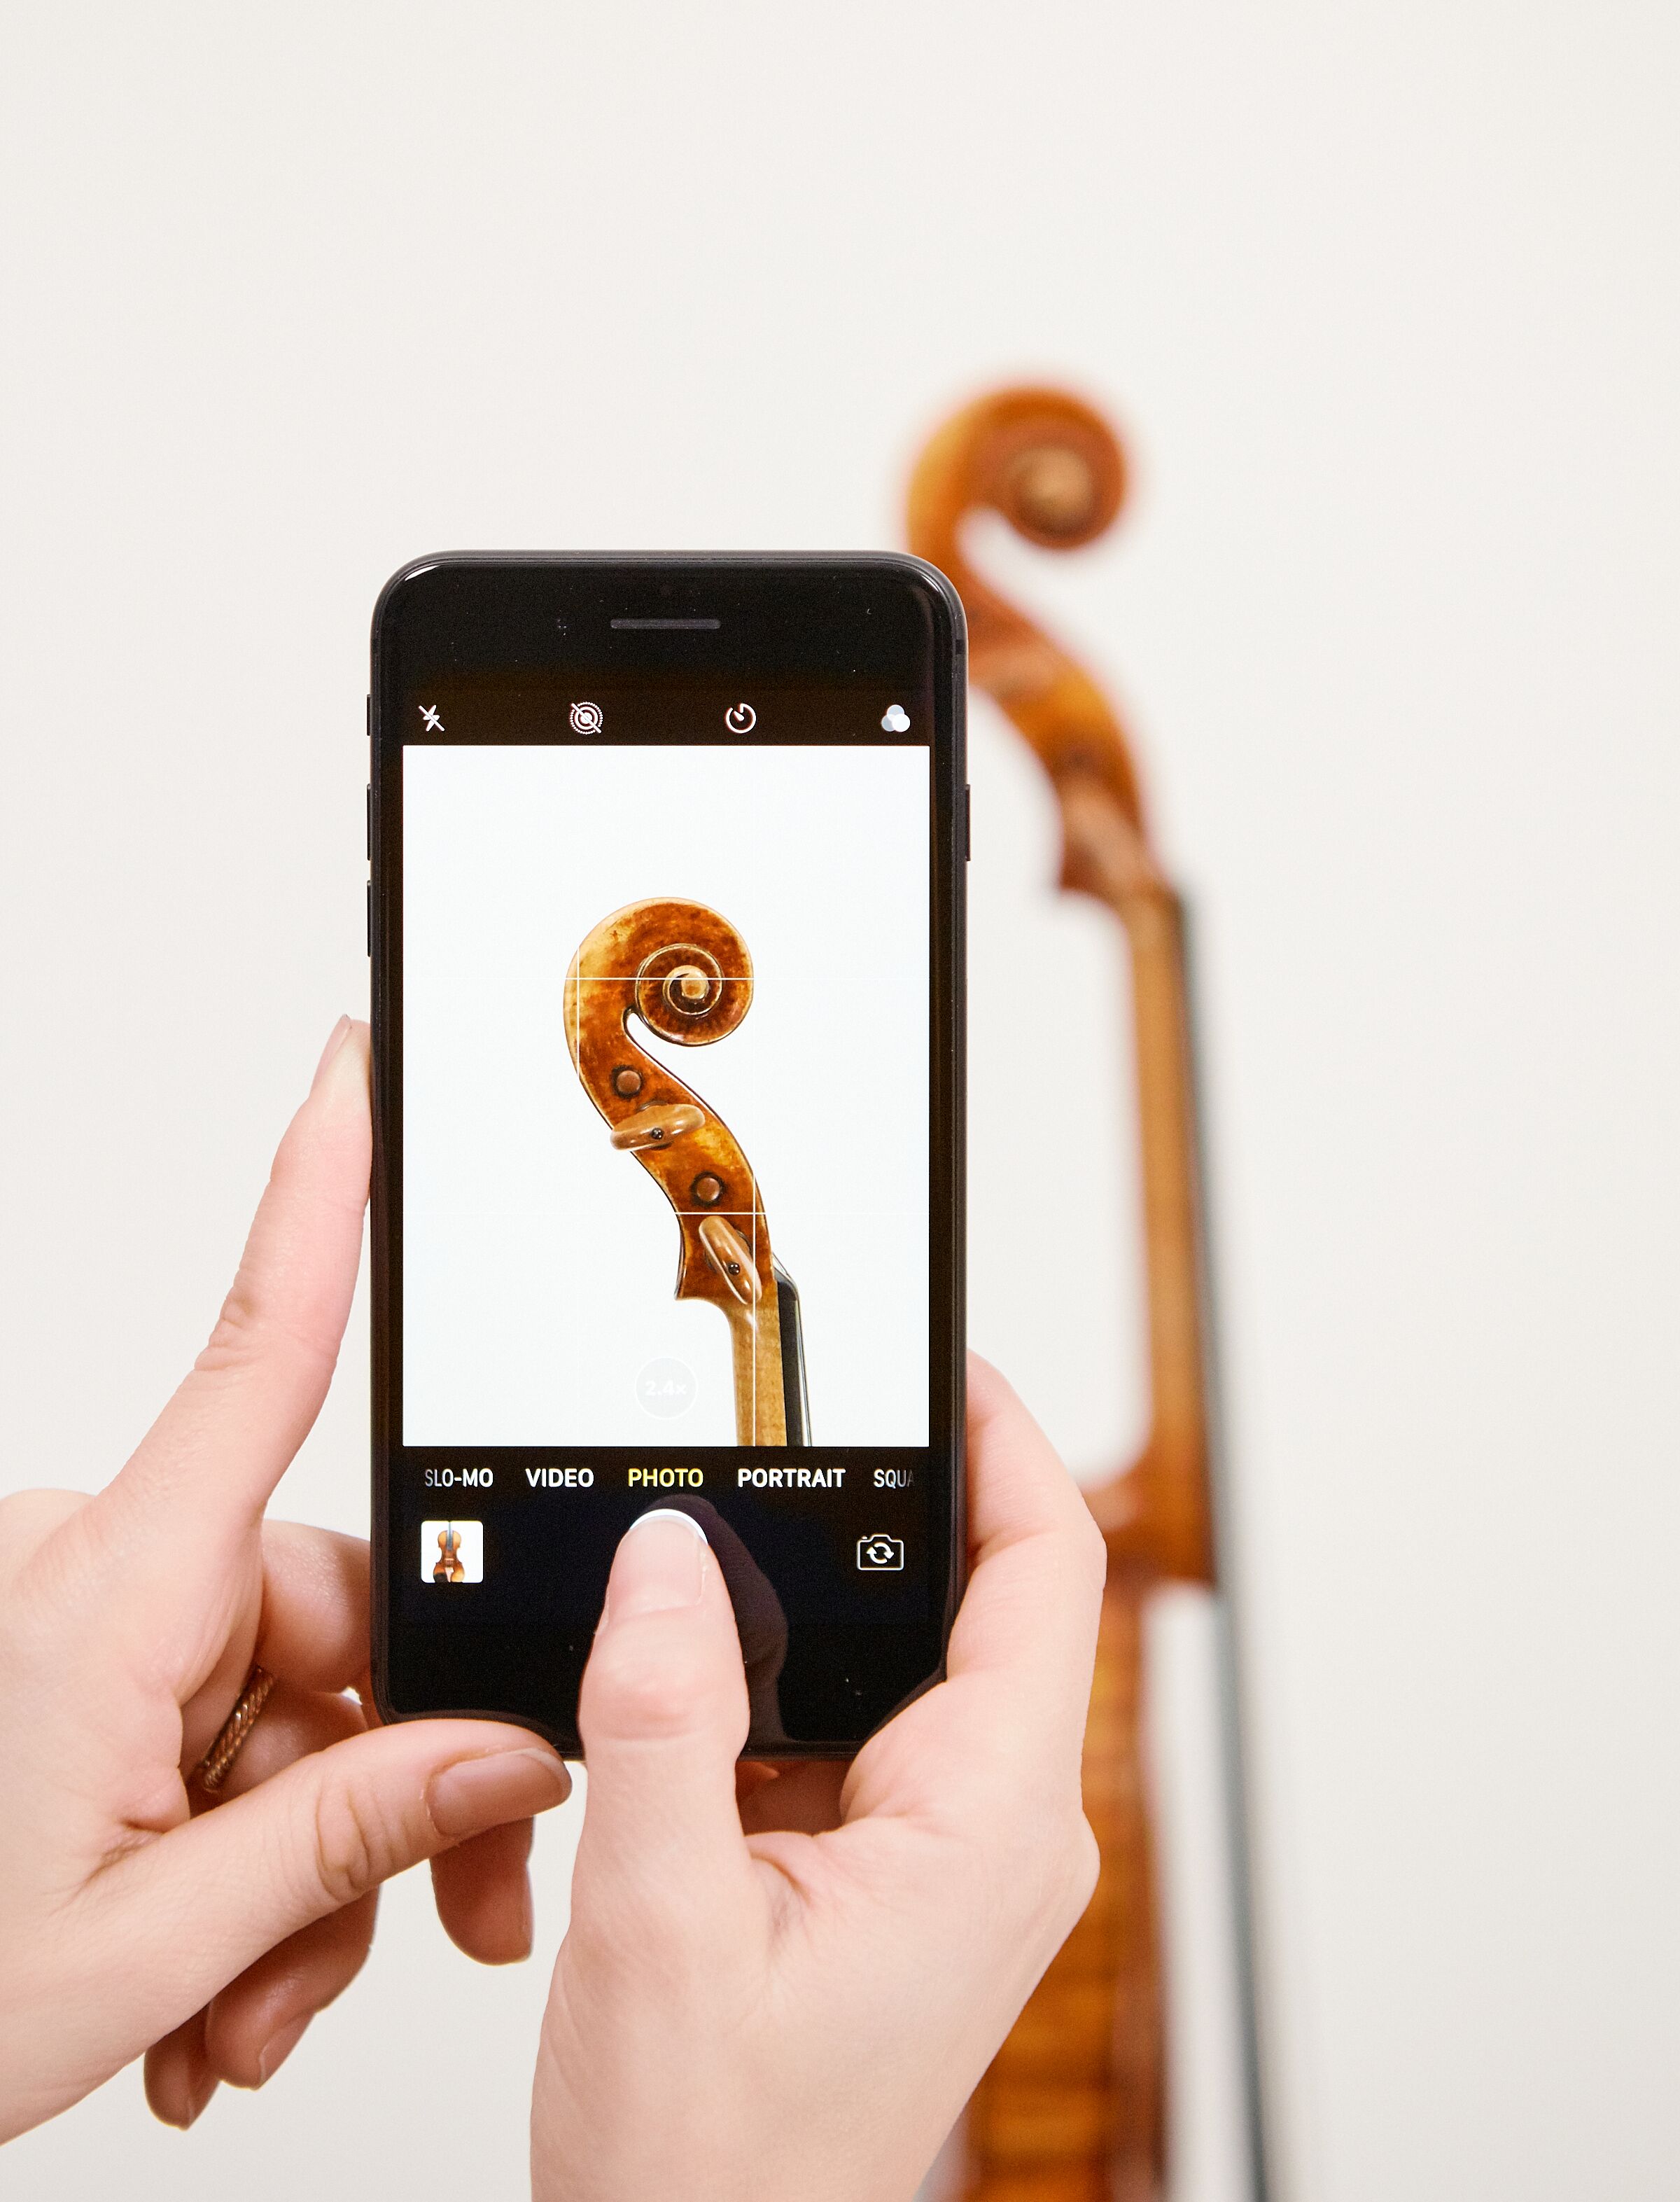
When sending photographs to us for evaluation, the most helpful images to receive are the front, back and scroll of the instrument and the frog and tip of a bow. The instrument photos should be taken “straight on”, such as in the examples below. You are welcome to submit additional images you think would be helpful, such as the f-holes, ribs, edgework, or label.
 |
 |
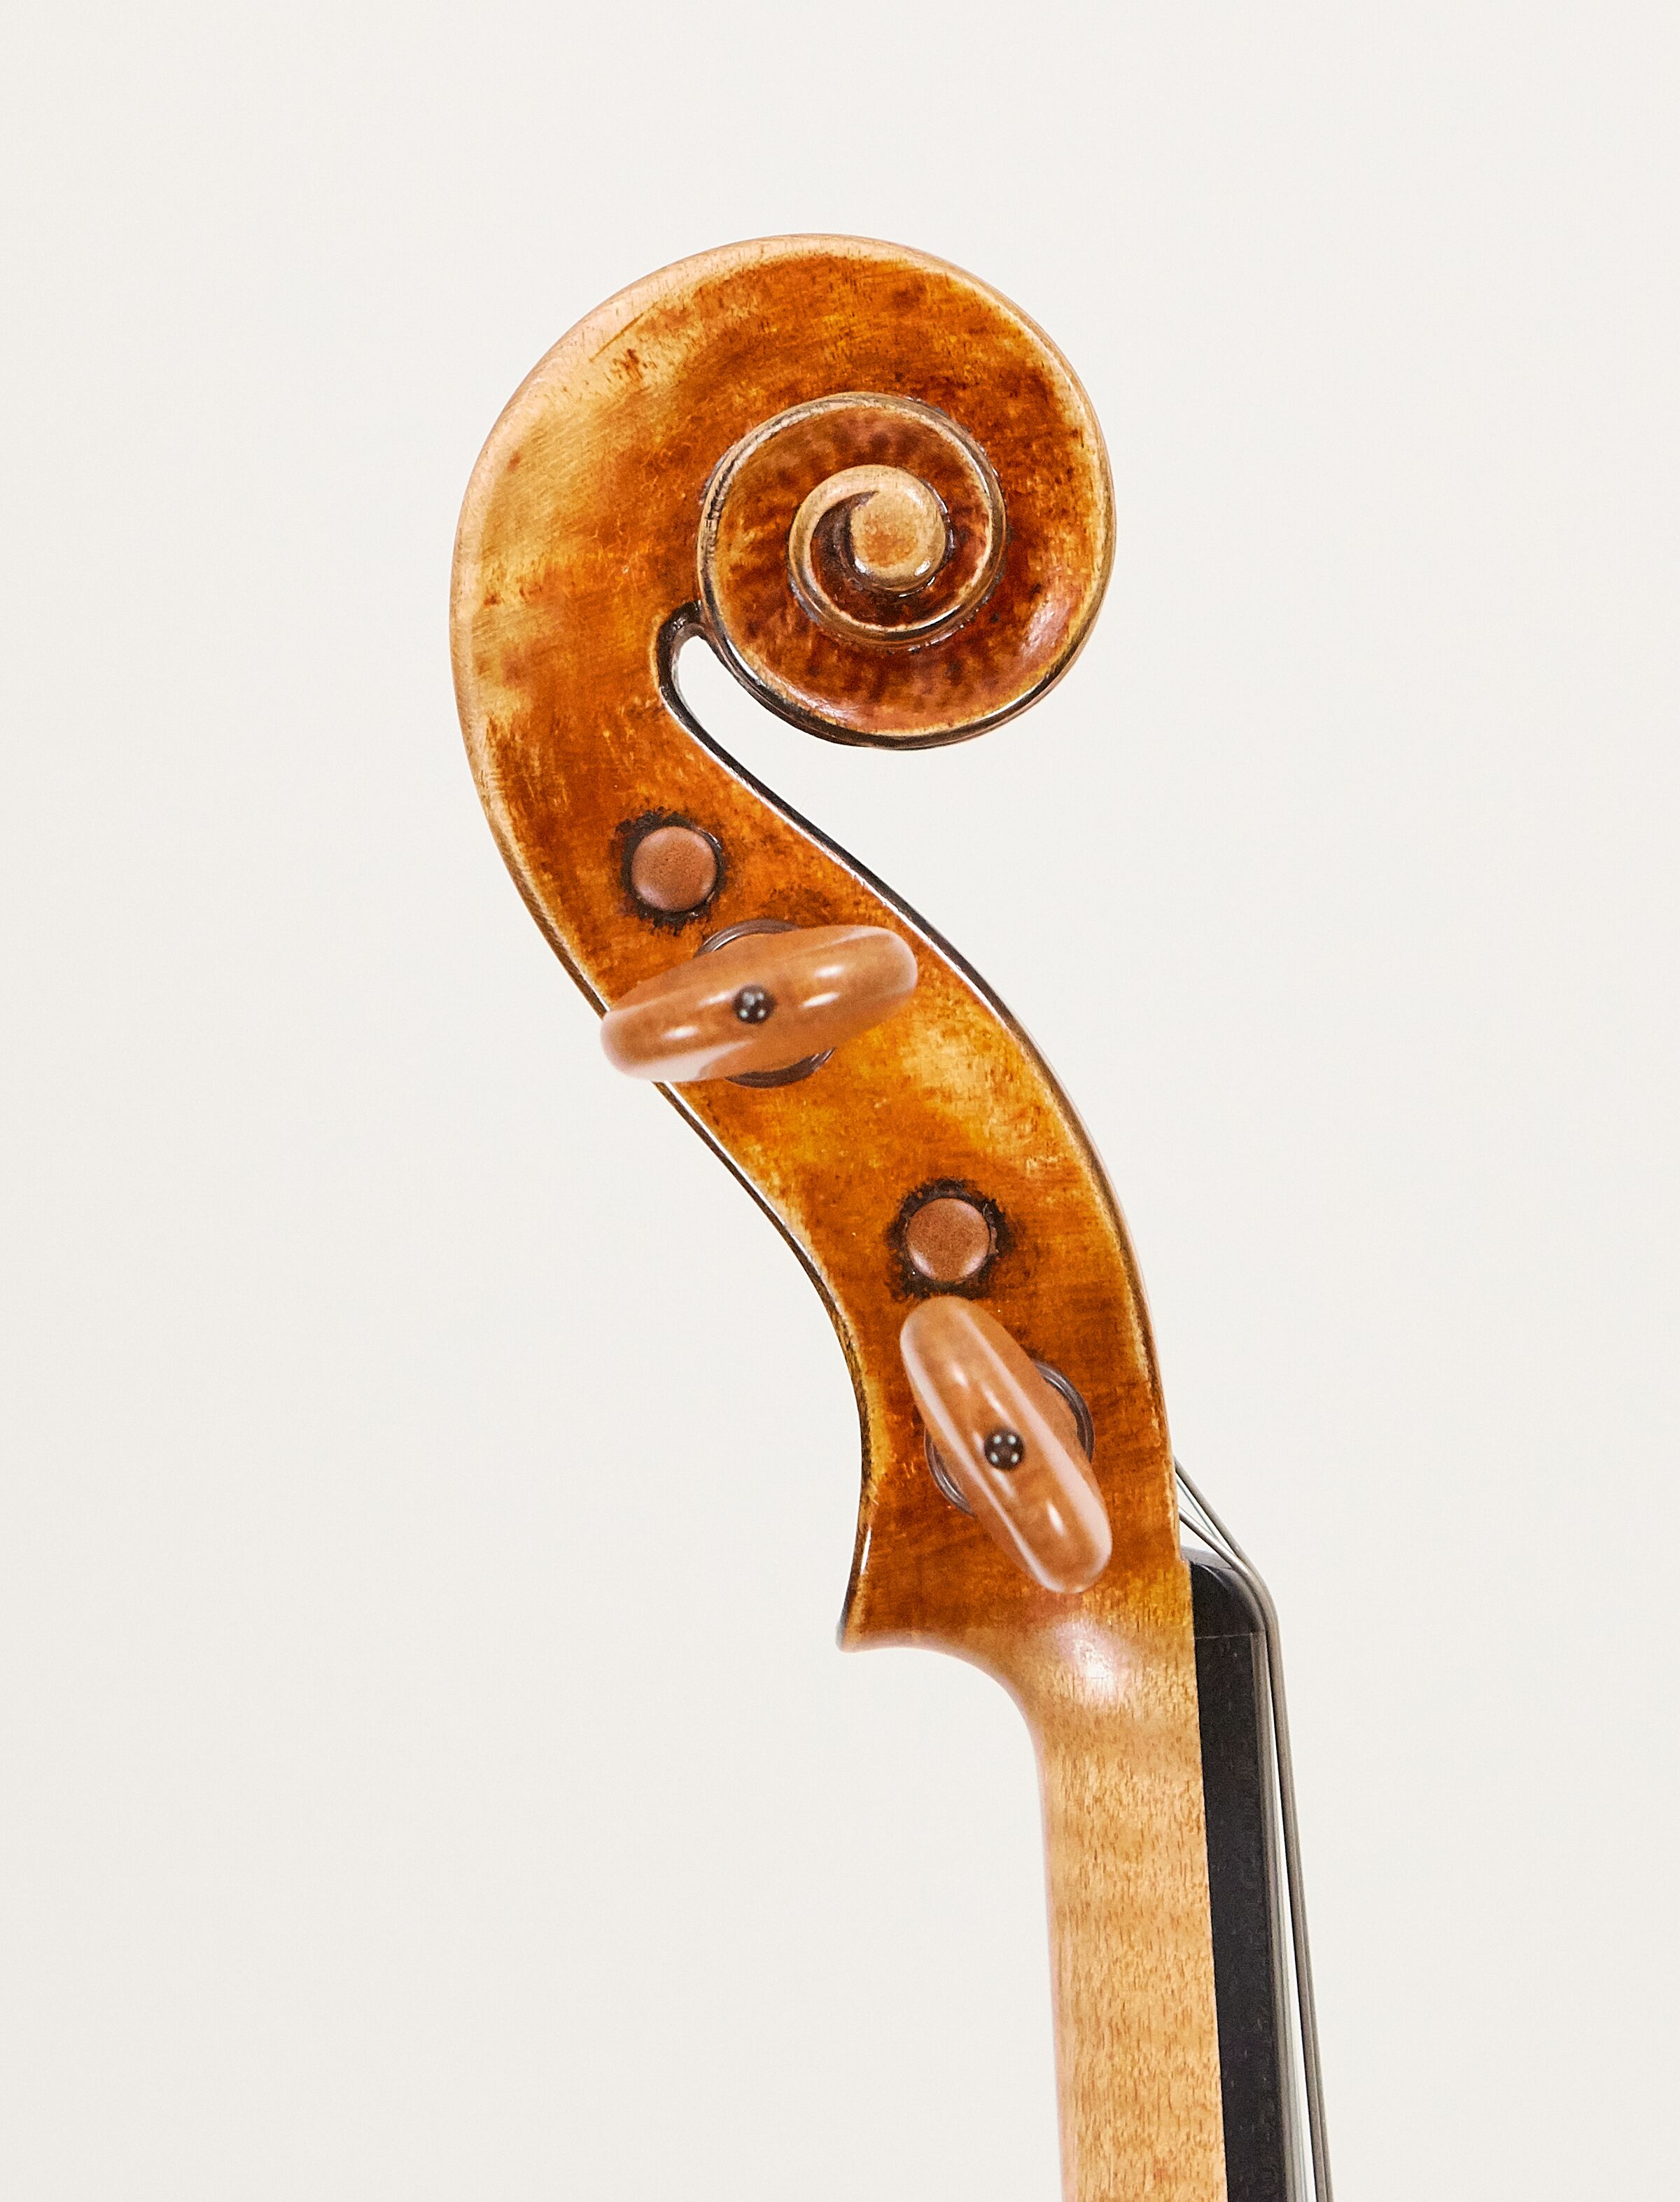 |
In order to steady the instrument for “straight on” shots, we suggest using a glass vase or similar object with a wide enough opening to securely balance the instrument on top of. If you have someone available to assist, they can hold the instrument at the top of the neck by the scroll while it rests on a secure base. It is best to use natural light and a plain background such as a white sheet, white wall or solid colored table cloth. Images should be taken without flash and with minimal glare.
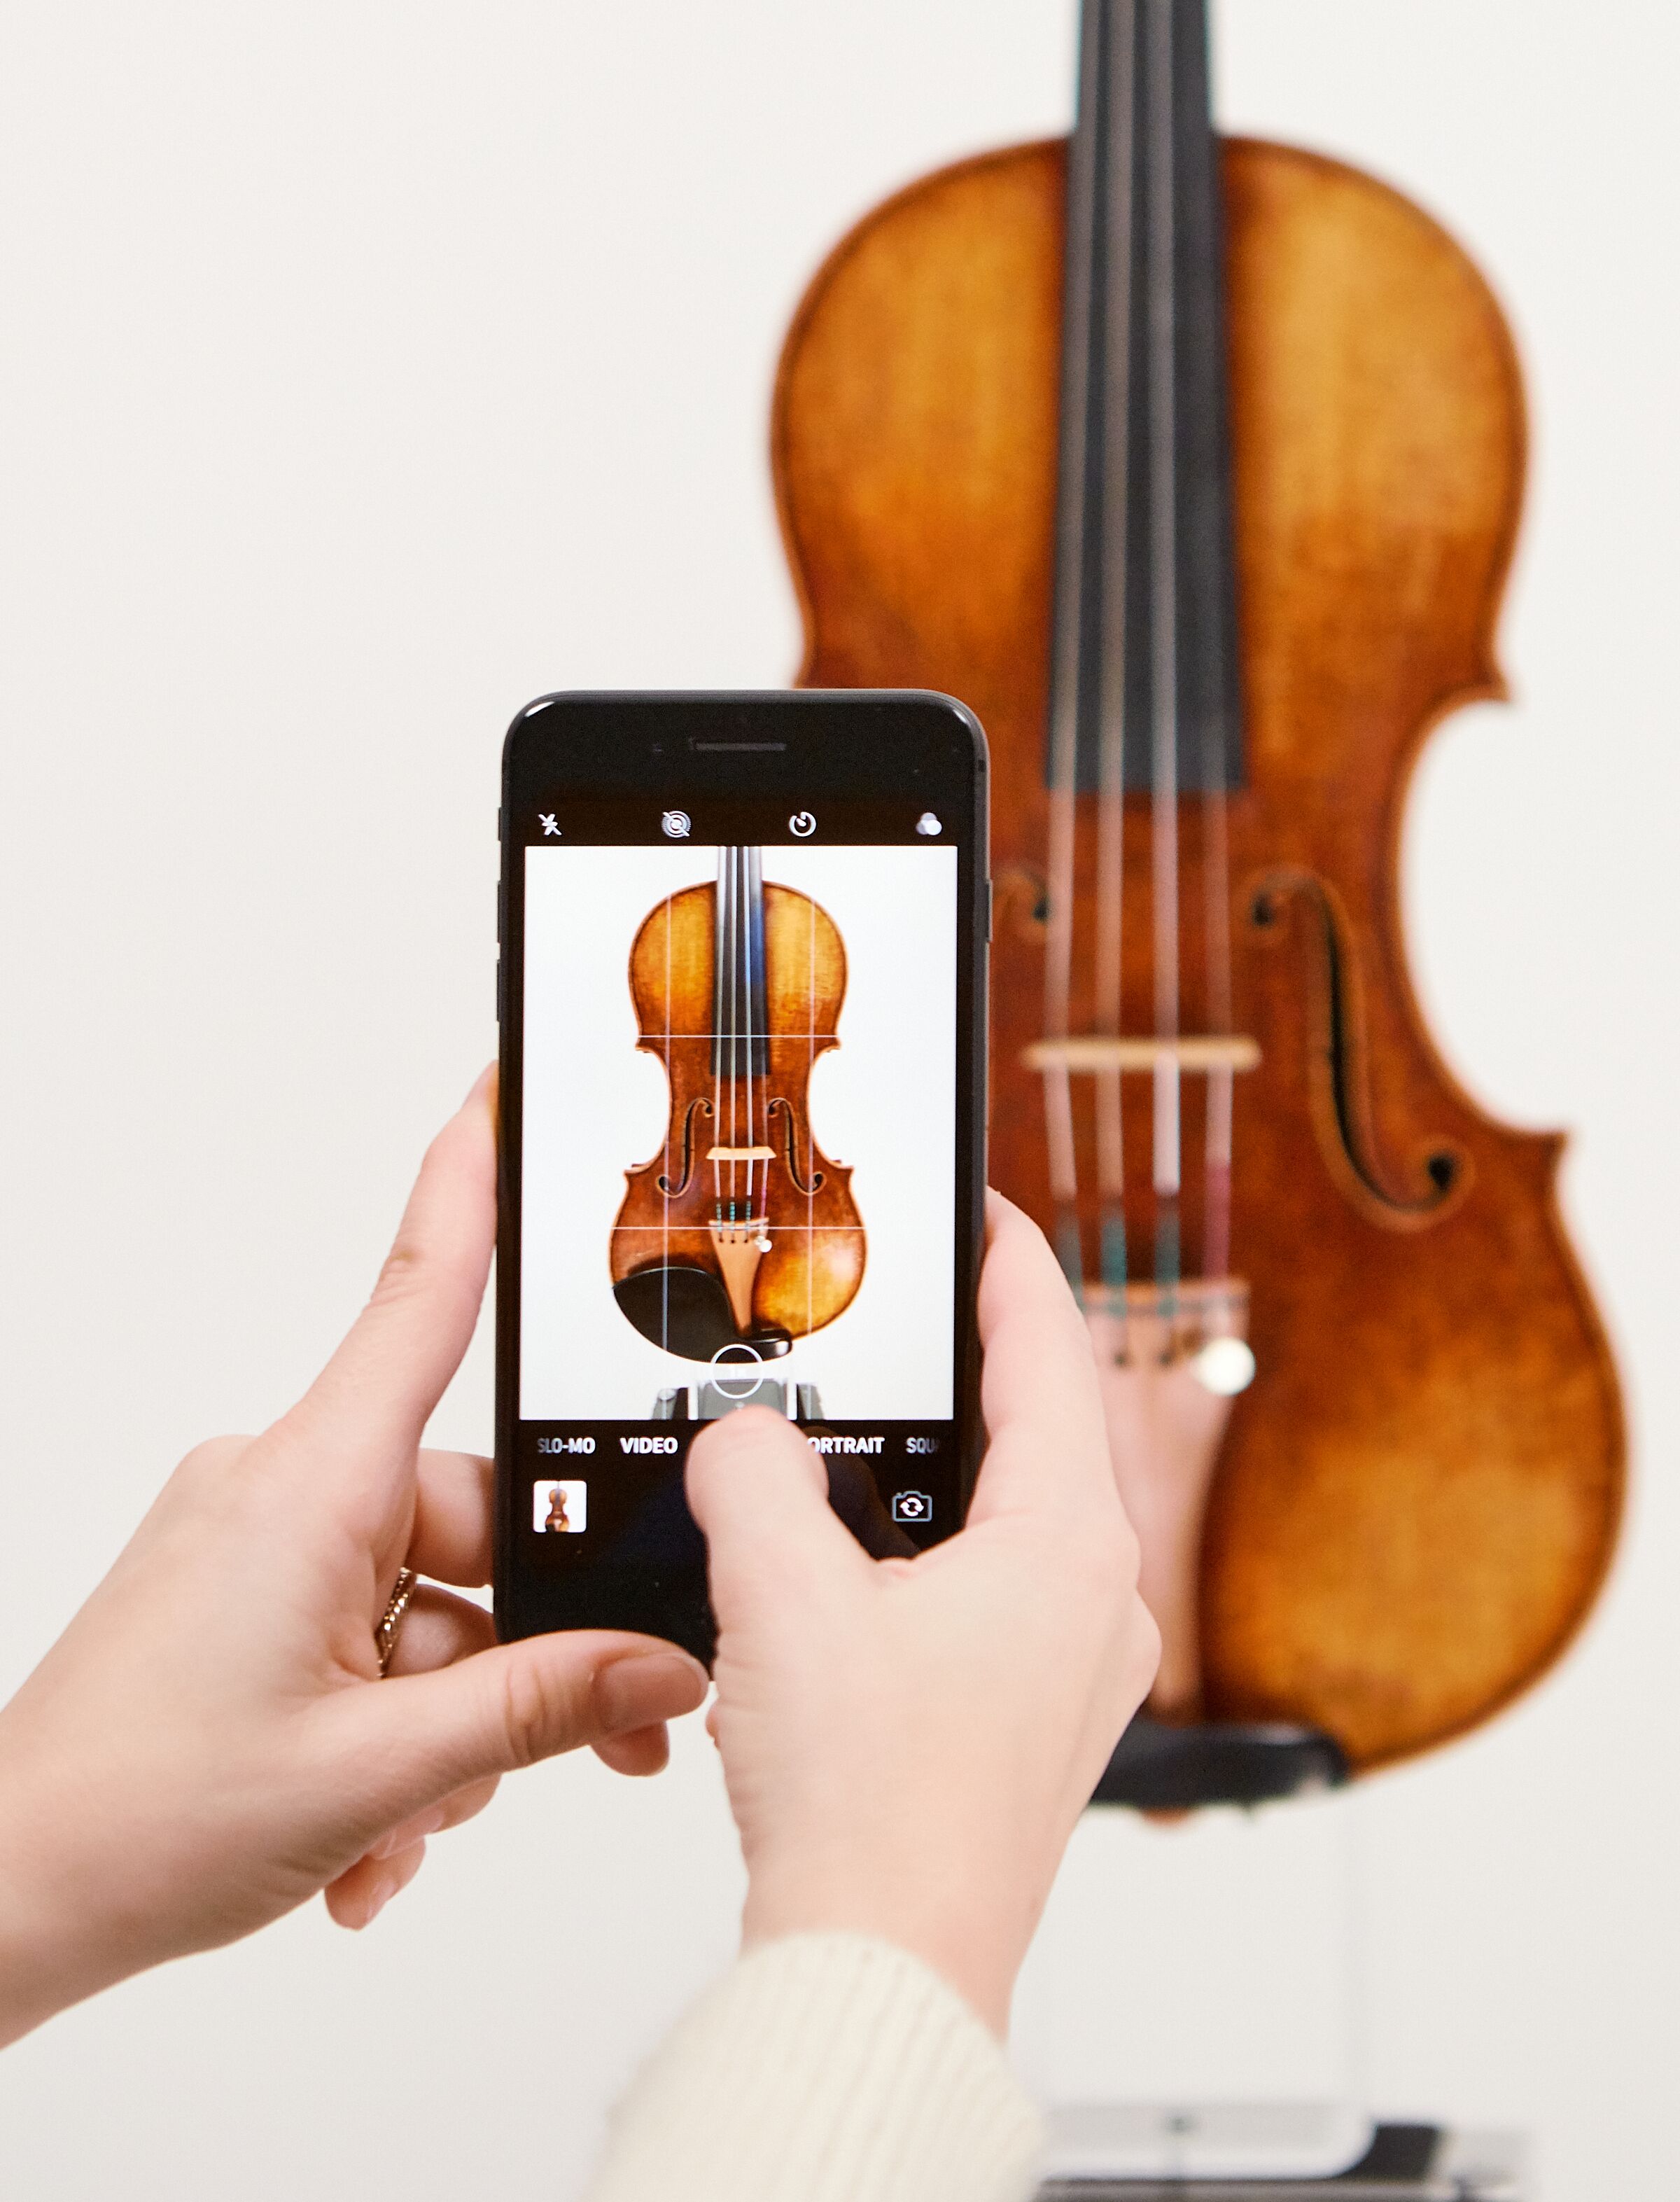
In order to properly frame up the various shots, please stand 4 feet from the instrument and zoom in so that the instrument fills most of the frame. See the examples below of how your frame should look when taking the photographs.
 |
 |
 |
To upload your images, visit our Valuations page.